3. MODELLING TANK COMMANDERS
Not all vehicle kits, come with vehicle commanders, and often you need to fork out more money to purchase dedicated sculptures of tank crew.If your like me you may have a collection of spare body parts, left overs from the Infantry assembly line,not knowing what to do with them.
 |
| Recycling British Infantry heads and arms. |
With the help of some Green Stuff and a bit of patients ,you can Recycle them and sculpture a beret,headset, goggles and even a partial torso to transform you humble infantryman into skilled tank commander.
 |
| Add-ons to plastic head complete. |
 |
| Torso modeled with the addition of plastic hand holding mic. |
 |
| Back view of figure and fitted into the commanders hatch. |
 |
| Another tank commander in the making. |
How to make a Tank Commander.
- mount the head on a metal shaft ( I have used both pins and old thin drill bits, the drill bits are better)

- mix small amount of Green Stuff
- roll out a variaty of thinly sausage shaped pieces of Green Stuff
- use a sculpturing instrument to cut and mould
- Break down the tasks into section:
- Beret (wrap a piece of Green Stuff around the head and then with the use of a instrument push and flatten into shape)
- Headset band going over the Beret (start from one side near the ear and place the G S over the Beret, cut excess off and using the flat side of the instrument blade lightly push down to square off the GS)
- larger Headset circular shape(cut off a small section of GS roll into a ball and place over the ear and using the flat side of the instrument blade lightly push down to square off )
- smaller Headset circular shape on the large one.(cut off a much small section of GS roll into a ball and place over the the larger ear piece and using the flat side of the instrument blade lightly push down to square off )
- wires leading from the Headset .(cut off a small section and roll it out into very thin sausage shape and attach to headset )
- throat:(wrap a piece of GS around the throat area and then wrap a large piece of GS for the upper body and use of a instrument push into shape)
- Hint: to stop the Green Stuff sticking onto the carving instrument, dampen it in water.
- Be patient.
4. MODELLING METAL CABLES AND CHAINS ON VEHICLES
 |
| I recently stumbled onto this Stringing for Beads and Pearls at my local Arts and Craft store, its great in mimicking steel cables. |
 |
I find the beading string much easier to manipulated than the metal ones sold in hobby stores.Secure the beading string with super glue in desired position before priming.
It is also possible to tie circular knots at the ends for more realism. |
 |
| Cheap fake/toy jewelry chain are good for replicating chains on vehicles. |
5. MODELLING ANTENNAS ON VEHICLES
6. MODELLING GRIT AND DIRT
I use 2 methods for applying Grit and Dirt:Method 1: |
| Place PVA and course PUMICE on a mixing slab |
 |
| Mix the two together with a metal instrument |
 |
| Apply to selected surfaces on the model prior to undercoating with a old brush. |
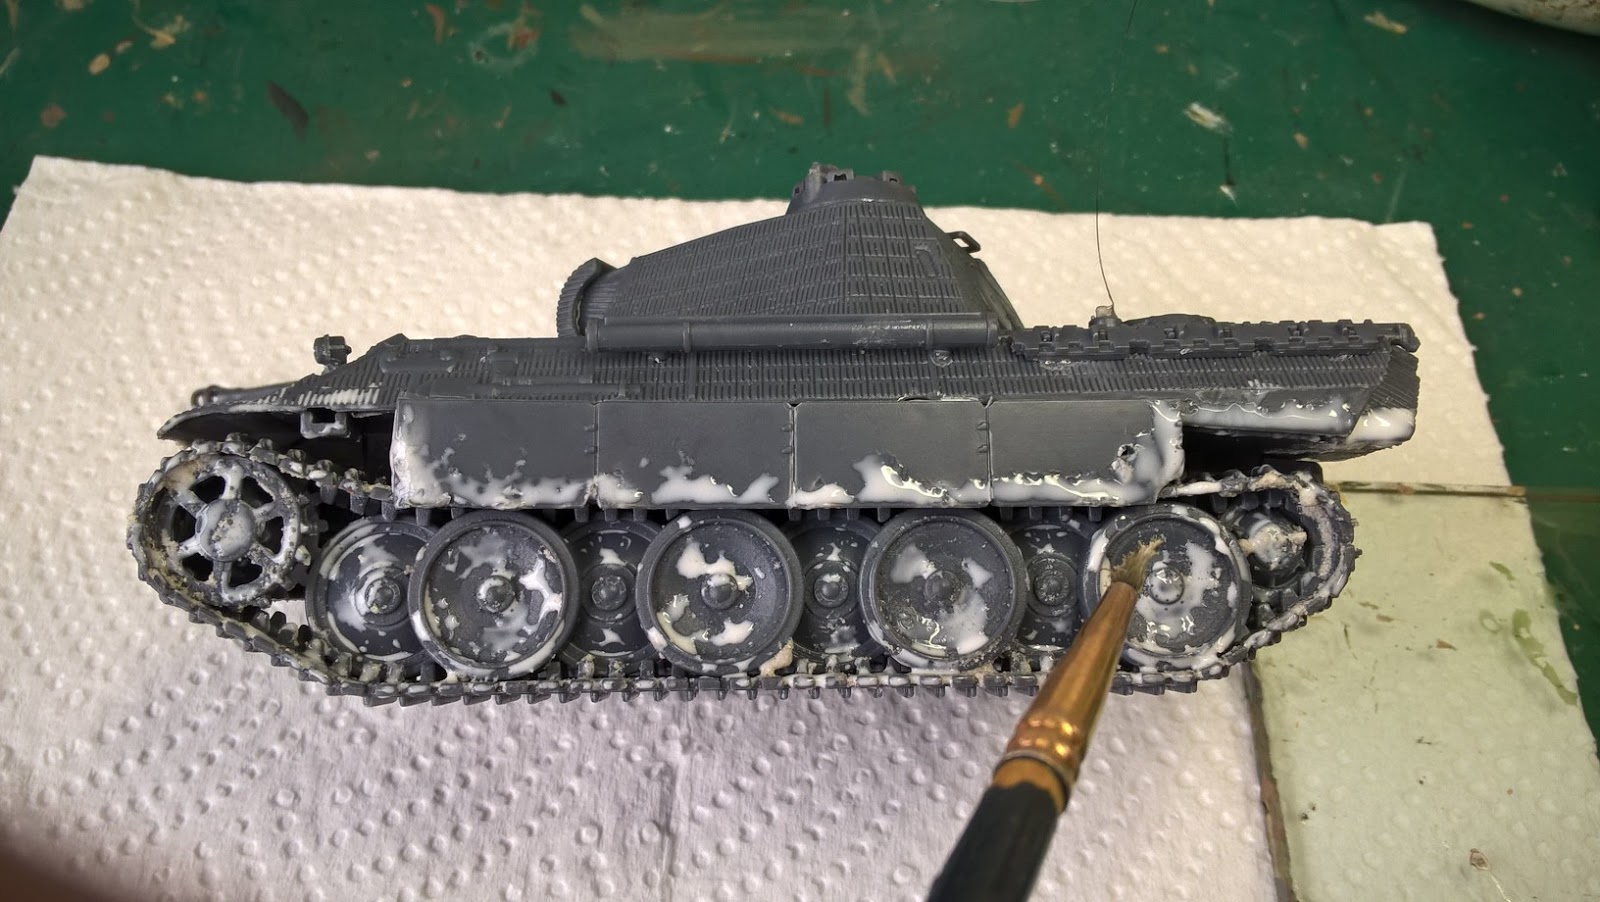
Method 2: |
| Apply some PVA onto a slab |
 |
| Using a old brush apply the PVA glue onto the surface of the vehicle. |
 |
| Using your fingers sprinkle pumice onto the vehicle covering the areas were the glue was applied. |
 |
| Shake off the excess and allow to dry. |
 |
| Imagine showing a completed vehicle using this method. |


0 Yorumlar